Microsoft has a knack for deciding to update your computer at the most inopportune time. We have all experienced the dreaded dance of having our PCs restart and update while we sit twiddling our thumbs and our productivity dwindles to nothing. And with increasing consumer complaints about some of those updates wreaking havoc, now is a good time to take control of when, and how, you update your Windows 10 PC.
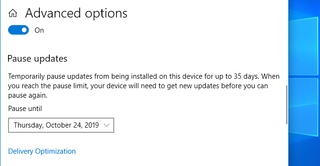
Here’s how to pause Windows 10 updates.
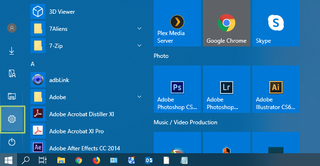
1. Click the Start menu from your taskbar.

2. Click the Settings icon from the Start menu.
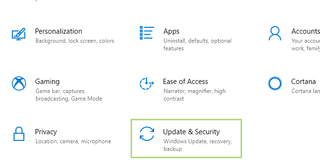
3. Select “Update & Security” In the Windows Settings window,
4. Choose Advanced Options under Windows Update.
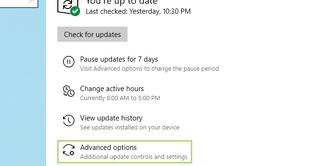
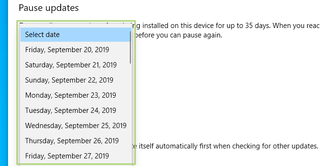
5. Click the “Select date” drop-down under Pause updates,
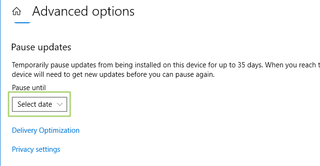
6. Specify the date you want your updates paused until. (Please note, currently, the maximum amount of time you can pause Windows Updates is 35 days)