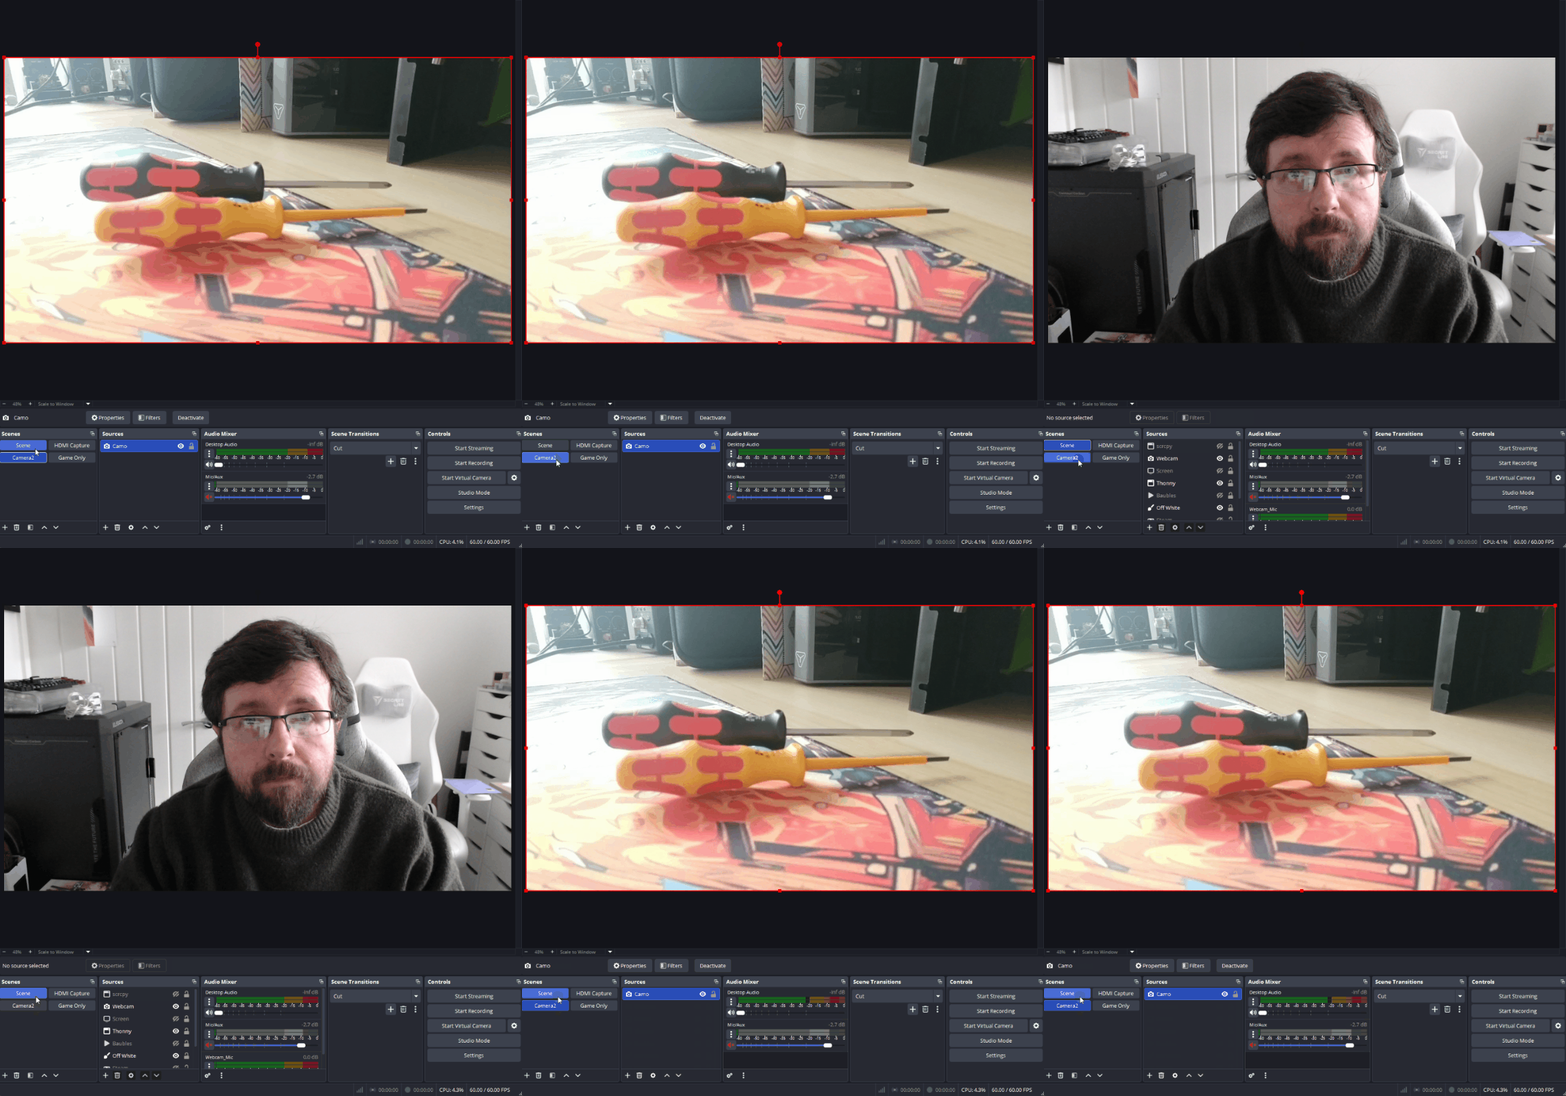
You need a webcam in a hurry, and you can’t get to the store or wait for Amazon to get the best webcam , so that old Android smartphone that is now lying in a desk drawer, waiting to be recycled, could just save your skin! Yes, that old smartphone that you keep in case of emergencies or to keep your child amused while grocery shopping, now it can be brought back into service as a webcam!
In this how-to, we’ll look at Camo Studio, a free tool that turns your old Android phone into a wireless webcam. This would be useful for general webcam duties and for streamers who need an additional angle in a shot. We’ll show you how to set up your Camo camera and then how to use it in OBS.
Installing Camo Studio for Windows
Installing Camo Studio for Windows is really simple, and it provides us with the user interface that we will use to control the webcam.
1. Download the Camo Studio app from the website .

2. Navigate to the Downloads folder and double-click to install the downloaded exe file. The installation process will use the Microsoft Store to install the application.
3. Follow the prompts as the installation progresses.
4. Open Camo.
The Camo Studio User Interface
The user interface is broken down into four key areas.

1. Device: Here, we can select the device that we wish to use as a webcam,
2. Device Settings: Tweak the settings of the selected device, set the resolution, focus, and light modes. We can switch between the front and rear cameras
3. The main output: See what the camera sees, including any filters.
4. Filters and templates: Tweak the look and feel of the video stream using predefined filters and templates.
Camo can be used with normal USB / laptop webcams and our Android smartphone. But, for the latter, we need to install an app on our Android device.
Installing Camo on your Android device
1. Open the Google Play Store.
2. Search for Camo Camera and install the application.
Connecting Your Smartphone to Camo Studio
With both the Camo Studio and Camo Camera app installed, we can now connect the two together.
1. In the Camo Studio Windows app, click on Device >> Pair a device. In the graphic, look for 1 to spot where this is.

2. Open the Camo Camera app on your smartphone and click on the Wi-Fi+ icon. Your PC and Smartphone must be on the same network.

3. Scan the QR code displayed in the Camo Studio app using the Camo Camera app on your Smartphone. The phone and your computer should connect in a few seconds. If it fails, restart the process from step 1.

4. You should now see a live video stream from your smartphone. You won’t have to do the full process every time. In the future, your smartphone will be listed in the dropdown.

Tweaking Your Webcam Settings
The basic camera settings are fine, but we can easily tweak them to get the best possible output.
1. Click on the dropdown under Lens, and swap between the front-facing and rear cameras.

2. Under Background, try blurring the background.

3. Under Effects, try out some of the effects; Sketch and 8-bit are great fun. Emoji Face is very “Black Mirror.”

4. The Adjustments section is where we can alter the temperature, tint, contrast, etc. of the video stream.

Templates to Tweak Your Scene

On the right of the screen (4), we can see a selection of templates for our video stream. By default, Watermark is active. Clicking on any of the other templates will trigger the template to apply to our output. Let's tweak our scene to “Meet & Greet”.
1. From the templates, click on Meet & Greet.

2. Click on the Layers icon.

3.Select a text element from the list.
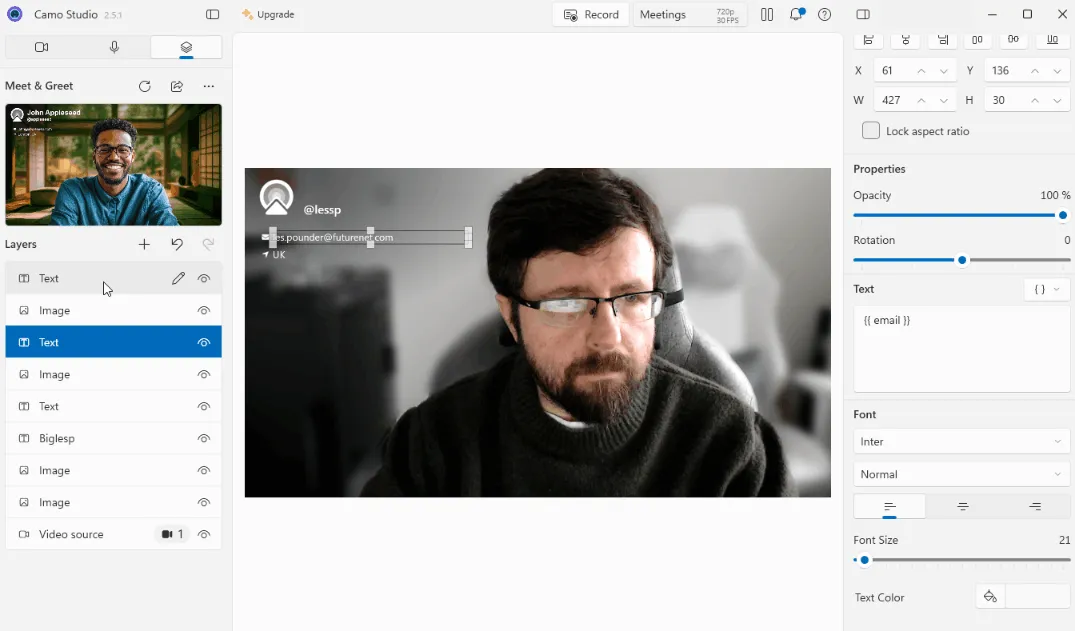
4. Click on the text dropdown and select Variables. You’ll find this dropdown on the right side of the UI.
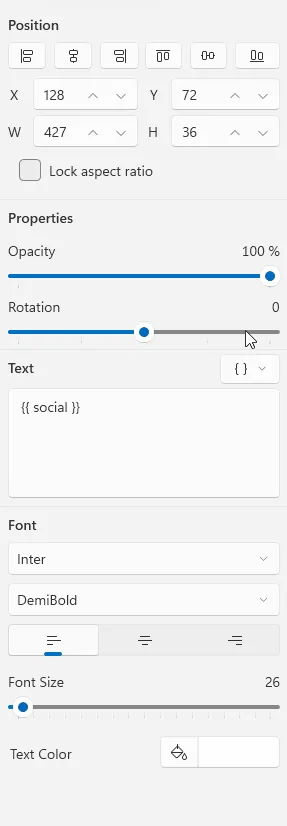
5. Tweak the variables to meet your requirements and then close the dialog box. The changes have been made to the template.

This same process applies to all of the templates.
Using Camo with OBS
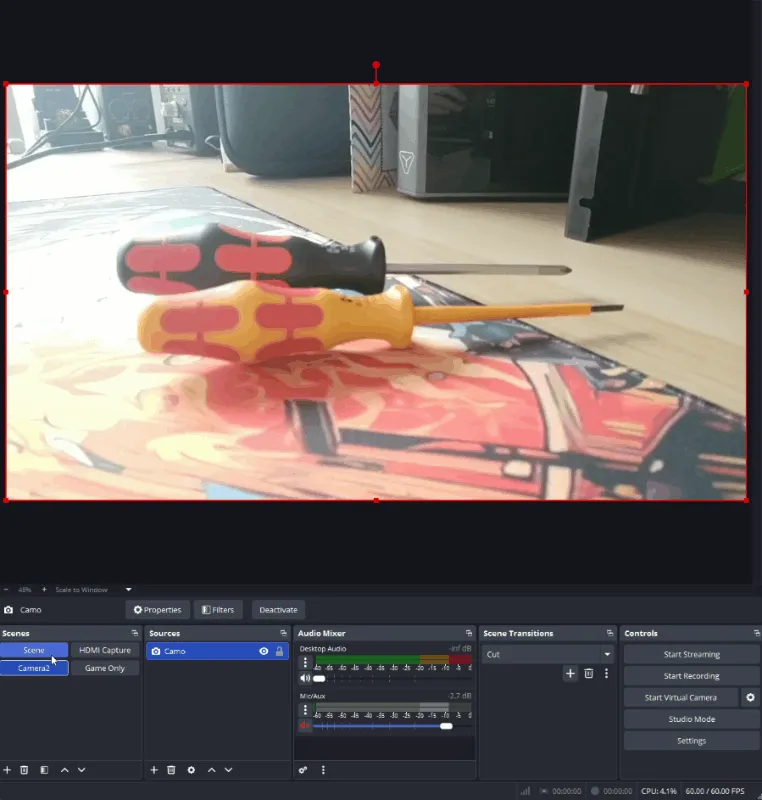
Open Broadcaster System (OBS) is like having a full TV production and mixing suite on your desktop. With Camo and OBS, we can coordinate the Camo webcam along with our usual webcam and create a multi-camera setup for use on streams and YouTube videos.
1. With your Camo setup running, open OBS.
2. Under Scenes, click on + to create a new scene called “Camera2” and click OK.

3. With the Camera2 scene selected, under Sources, click on +.

4. Select “Video Capture Device” from the list.

5. Create a new source called Camo and click OK.

6. From the list of devices, select Camo and click OK.

7. The Camo video source should now be displayed in the Camera2 scene.

8. Click on the Camera2 and another scene to swap between the Scenes in OBS, giving you multiple camera angles for your next stream.