Trying KIOXIA CM6 and PM6 Enterprise SSDs on a Raspberry Pi
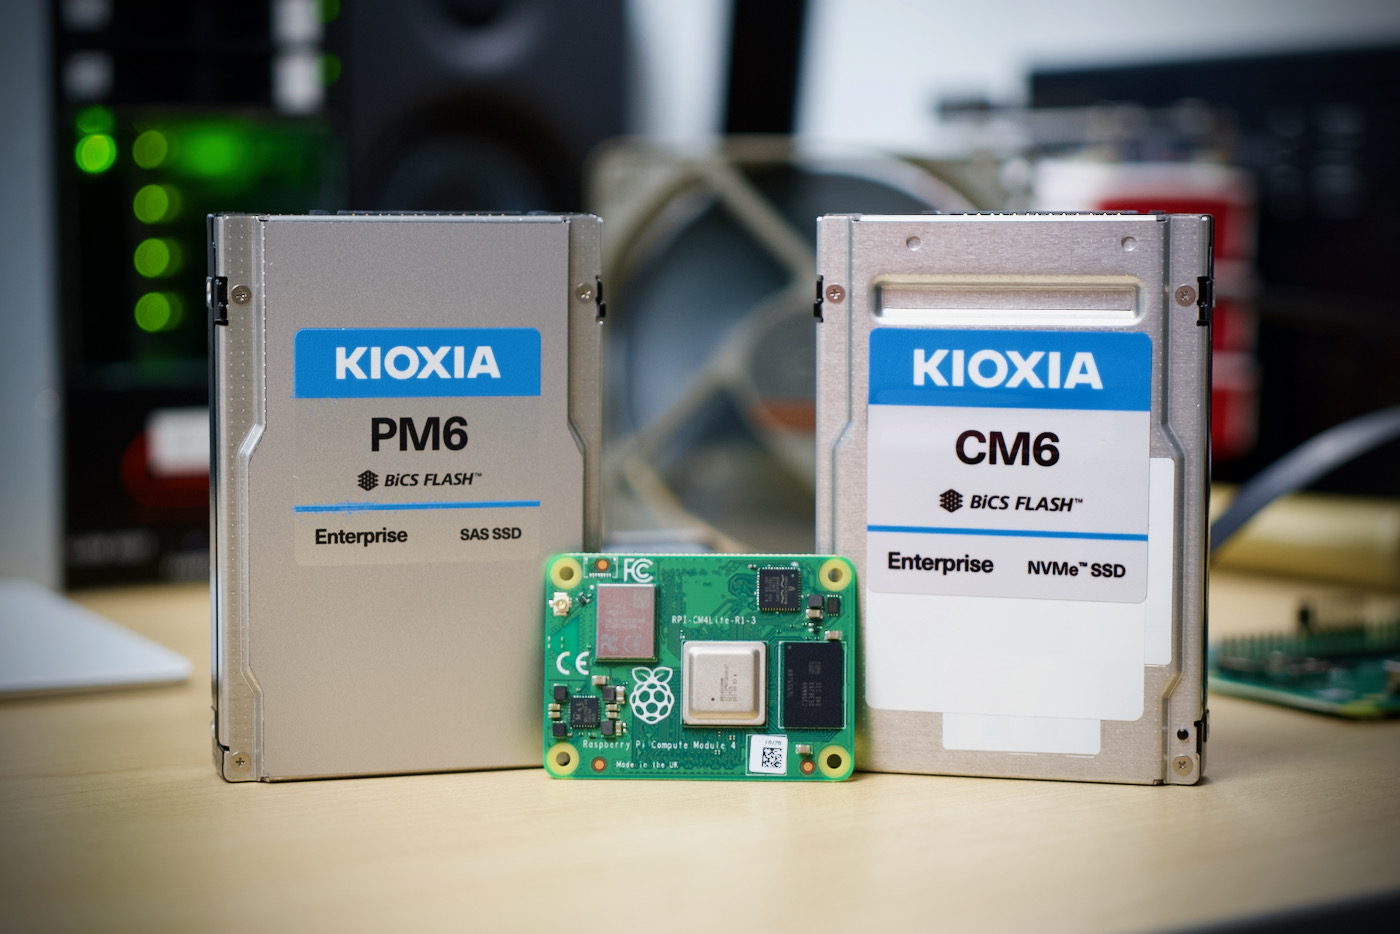
Late last year, an engineer at Broadcom sent me some hardware and offered some help getting Broadcom's MegaRAID card working on the Raspberry Pi. It took some time, but eventually we were able to get the card and a demonstrator 'UBM' backplane working on the Pi, and it culminated in my posting about Hardware RAID on the Pi , and on a livestream, getting 16 hard drives working on a Pi .
The one thing I couldn't test in those earlier videos was the backplane and storage card
Tried Nvidia's GTX 1080 - still no external GPU on a Pi
Earlier today I did a livestream on my YouTube channel to attempt using an Nvidia GeForce GTX 1080 on a Raspberry Pi Compute Module 4 .

As with all my testing, I'm documenting everything I learn in this GitHub issue , which is part of the Raspberry Pi PCI Express Card Database website.
It's only been a few hours, but I've already gotten good suggestions for better debugging than I was able to do on the stream. And someone pointed out it might be the case,
Taking control of the Pi PoE HAT's overly-aggressive fan
I am starting to rack up more Pis ( quite literally ) using the official Pi PoE HAT to save on cabling.
The one thing I hate most about those little HATs is the fact the fans spin up around 40°C , and then turn off a few seconds later, once the temperature is back down to 39 or so, all day long.
I'd be happy to let my Pis idle around 50-60°C, and only have the little whiny fans come
Beautiful 3D Print time-lapses with my Nikon D700 and Octolapse
After seeing GreatScott's video on creating great 3D Printing timelapses , I knew I had to make better 3D Print timelapses using one of my DSLRs.
I had already tried using my pi-timelapse script with a Pi Zero W and the Camera Module v1 and v2, but the quality is just so-so, plus it's not synchronized with the 3D printer, therefore at least on the Ender 3 V2, the printed object goes all over the place:

What I wanted was
I'm switching from Nikon to Sony mirrorless
First let me be clear: I'm not, nor have I ever been, sponsored by Sony, Nikon or any other camera manufacturer, and all my photography gear has been purchased with my own money (usually used since I'm not made of money).
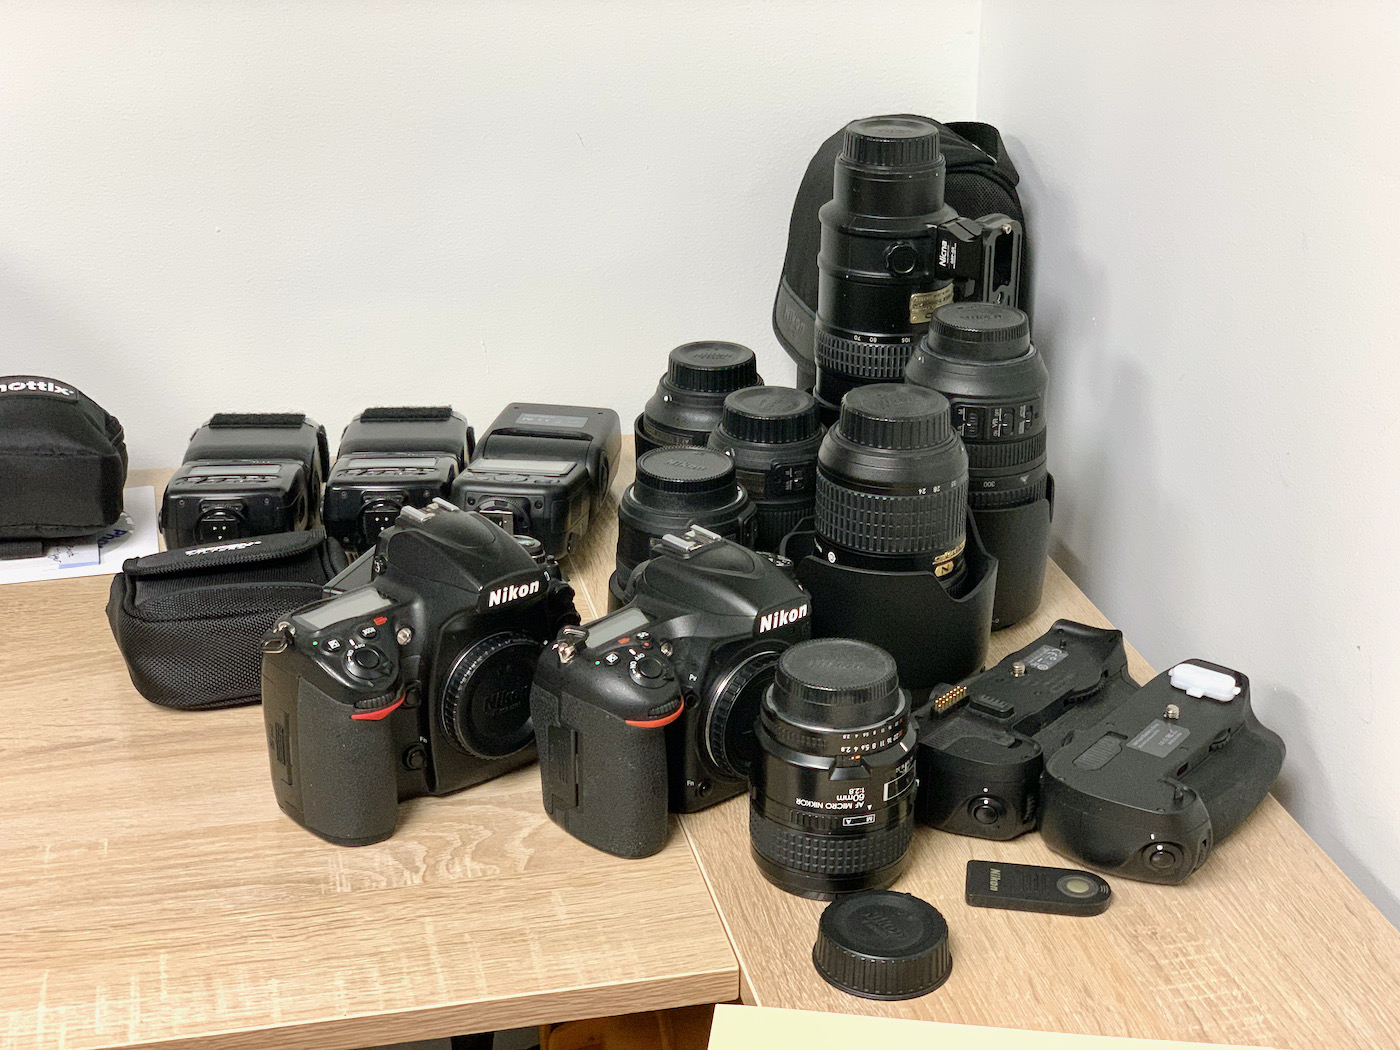
With that out of the way, after waffling on the decision for over a year, I'm selling all my Nikon FX DSLR camera gear, and switching to Sony's APS-C mirrorless camera system.
But why?
For me
Three more graphics cards on the Raspberry Pi CM4
Last year I tested two older graphics cardsâa Radeon 5450 and a GeForce GT710 âon a Raspberry Pi Compute Module 4.

This year, I've been testing three more graphics cardsâa GeForce GTX 750 Ti , a Radeon RX 550 , and the diminutive ASRock Rack M2_VGA .
The Compute Module 4, if you didn't know already, exposes the BCM2711's single PCI express
Using the Shelly Plug to monitor Starlink's power consumption
I recently wrote about using a Raspberry Pi to remotely monitor an Internet connection , and in my case, to monitor Starlink (SpaceX's satellite Internet service).

One other important thing I wanted to monitor was how much power Starlink used over time, and I was considering just manually taking a reading off my Kill-A-Watt every morning, but that's boring . And not very accurate since it's one point in time per day.
MirkoPC - a full-featured Raspberry Pi desktop computer
The MirkoPC is so far the closest thing to a full-fledged Raspberry Pi desktop computer:
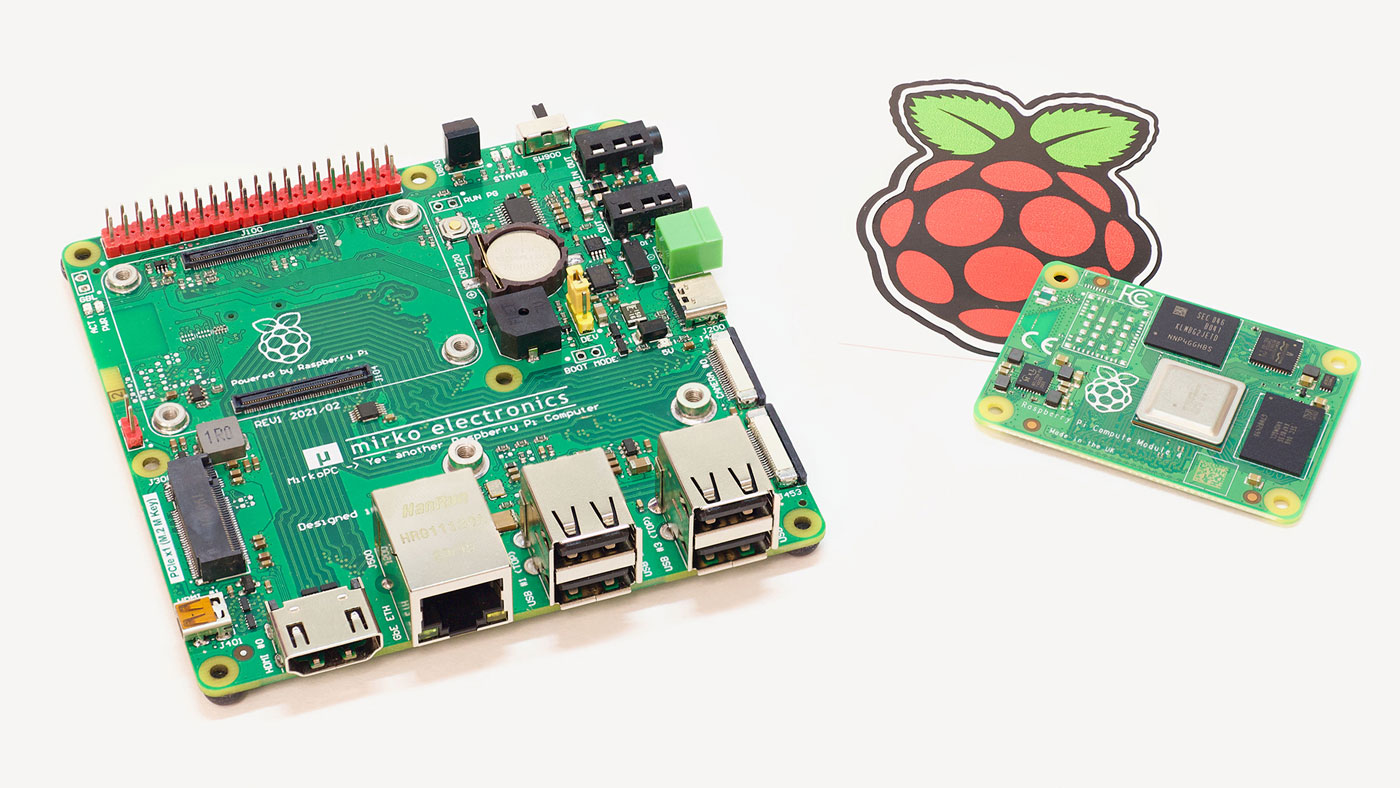
Based on the Compute Module 4, it has a full-size M.2 M-key slot, allowing the Pi to boot from reliable and fast NVMe SSD storage, a built-in headphone amp and line out, 4 USB 2.0 ports, gigabit Ethernet, two HDMI ports, and a number of other neat little features.
Video
I also have a video review of this board here:
Setting up Starlink, SpaceX's Satellite Internet
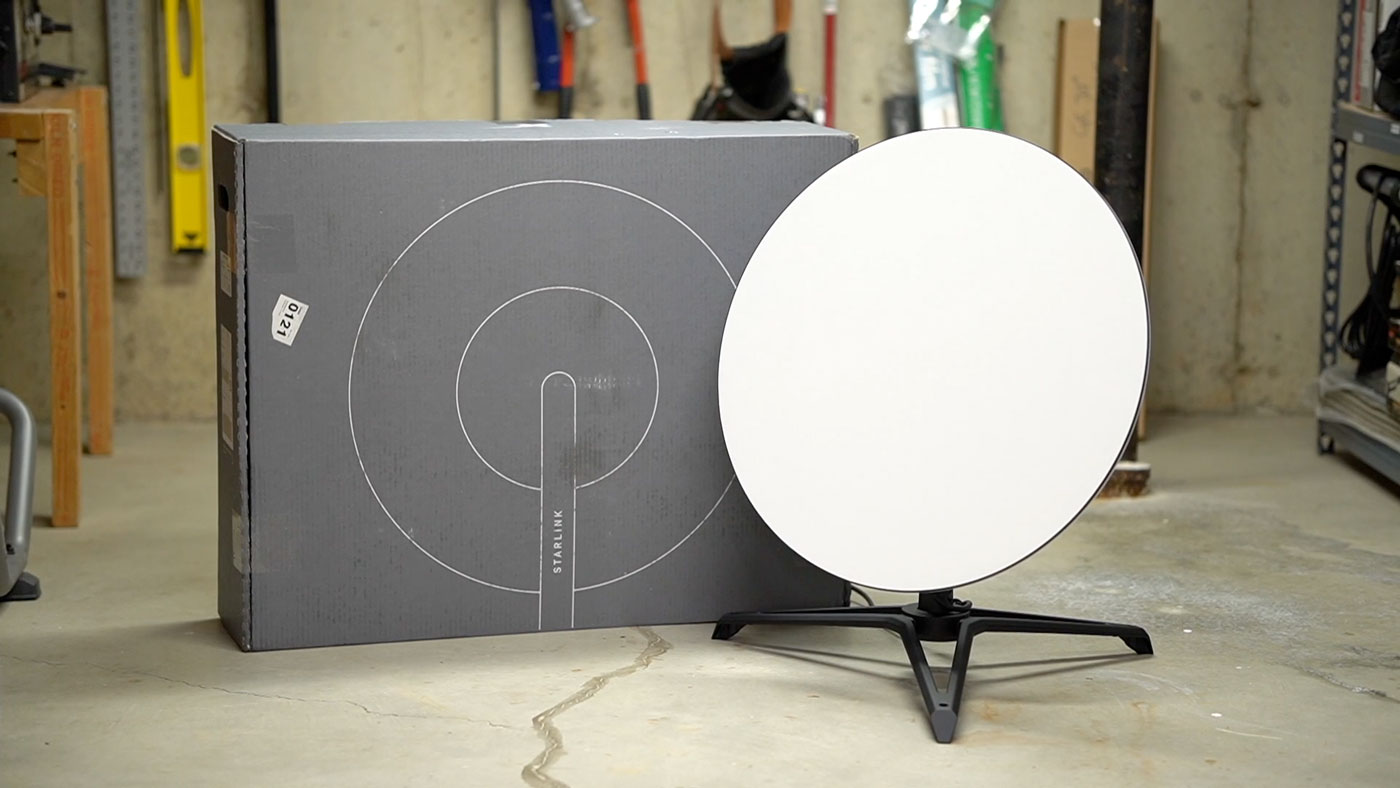
In March, I got an email from SpaceX saying Starlink was available at my address, and I could pre-order. I paid $500 for the equipment, plus $25 for a Volcano Roof Mount, and $99 for the first month of service, and a few weeks later, I got the kit you see in the image above.
I was a little too excited about getting Starlink, though, because I realized after I started looking for mounting locations that Starlink needed a 10
Raspberry Pi 2.5 Gbps 16 TB OMV NAS - Setup and Performance

Last week, I posted about the Pi NAS hardware build , and compared setting up an off-the-shelf ASUSTOR Lockerstor 4 to the same thing, but with a Raspberry Pi Compute Module 4 an IO Board.
Some people wondered why not just use a Raspberry Pi 4 model B with USB hard drives, and there are a few reasons:
- The model B's USB 3.0 ports add about a 10% overhead to SATA operations, which is more apparent over small file operations.
- You can'